瀑布流简介
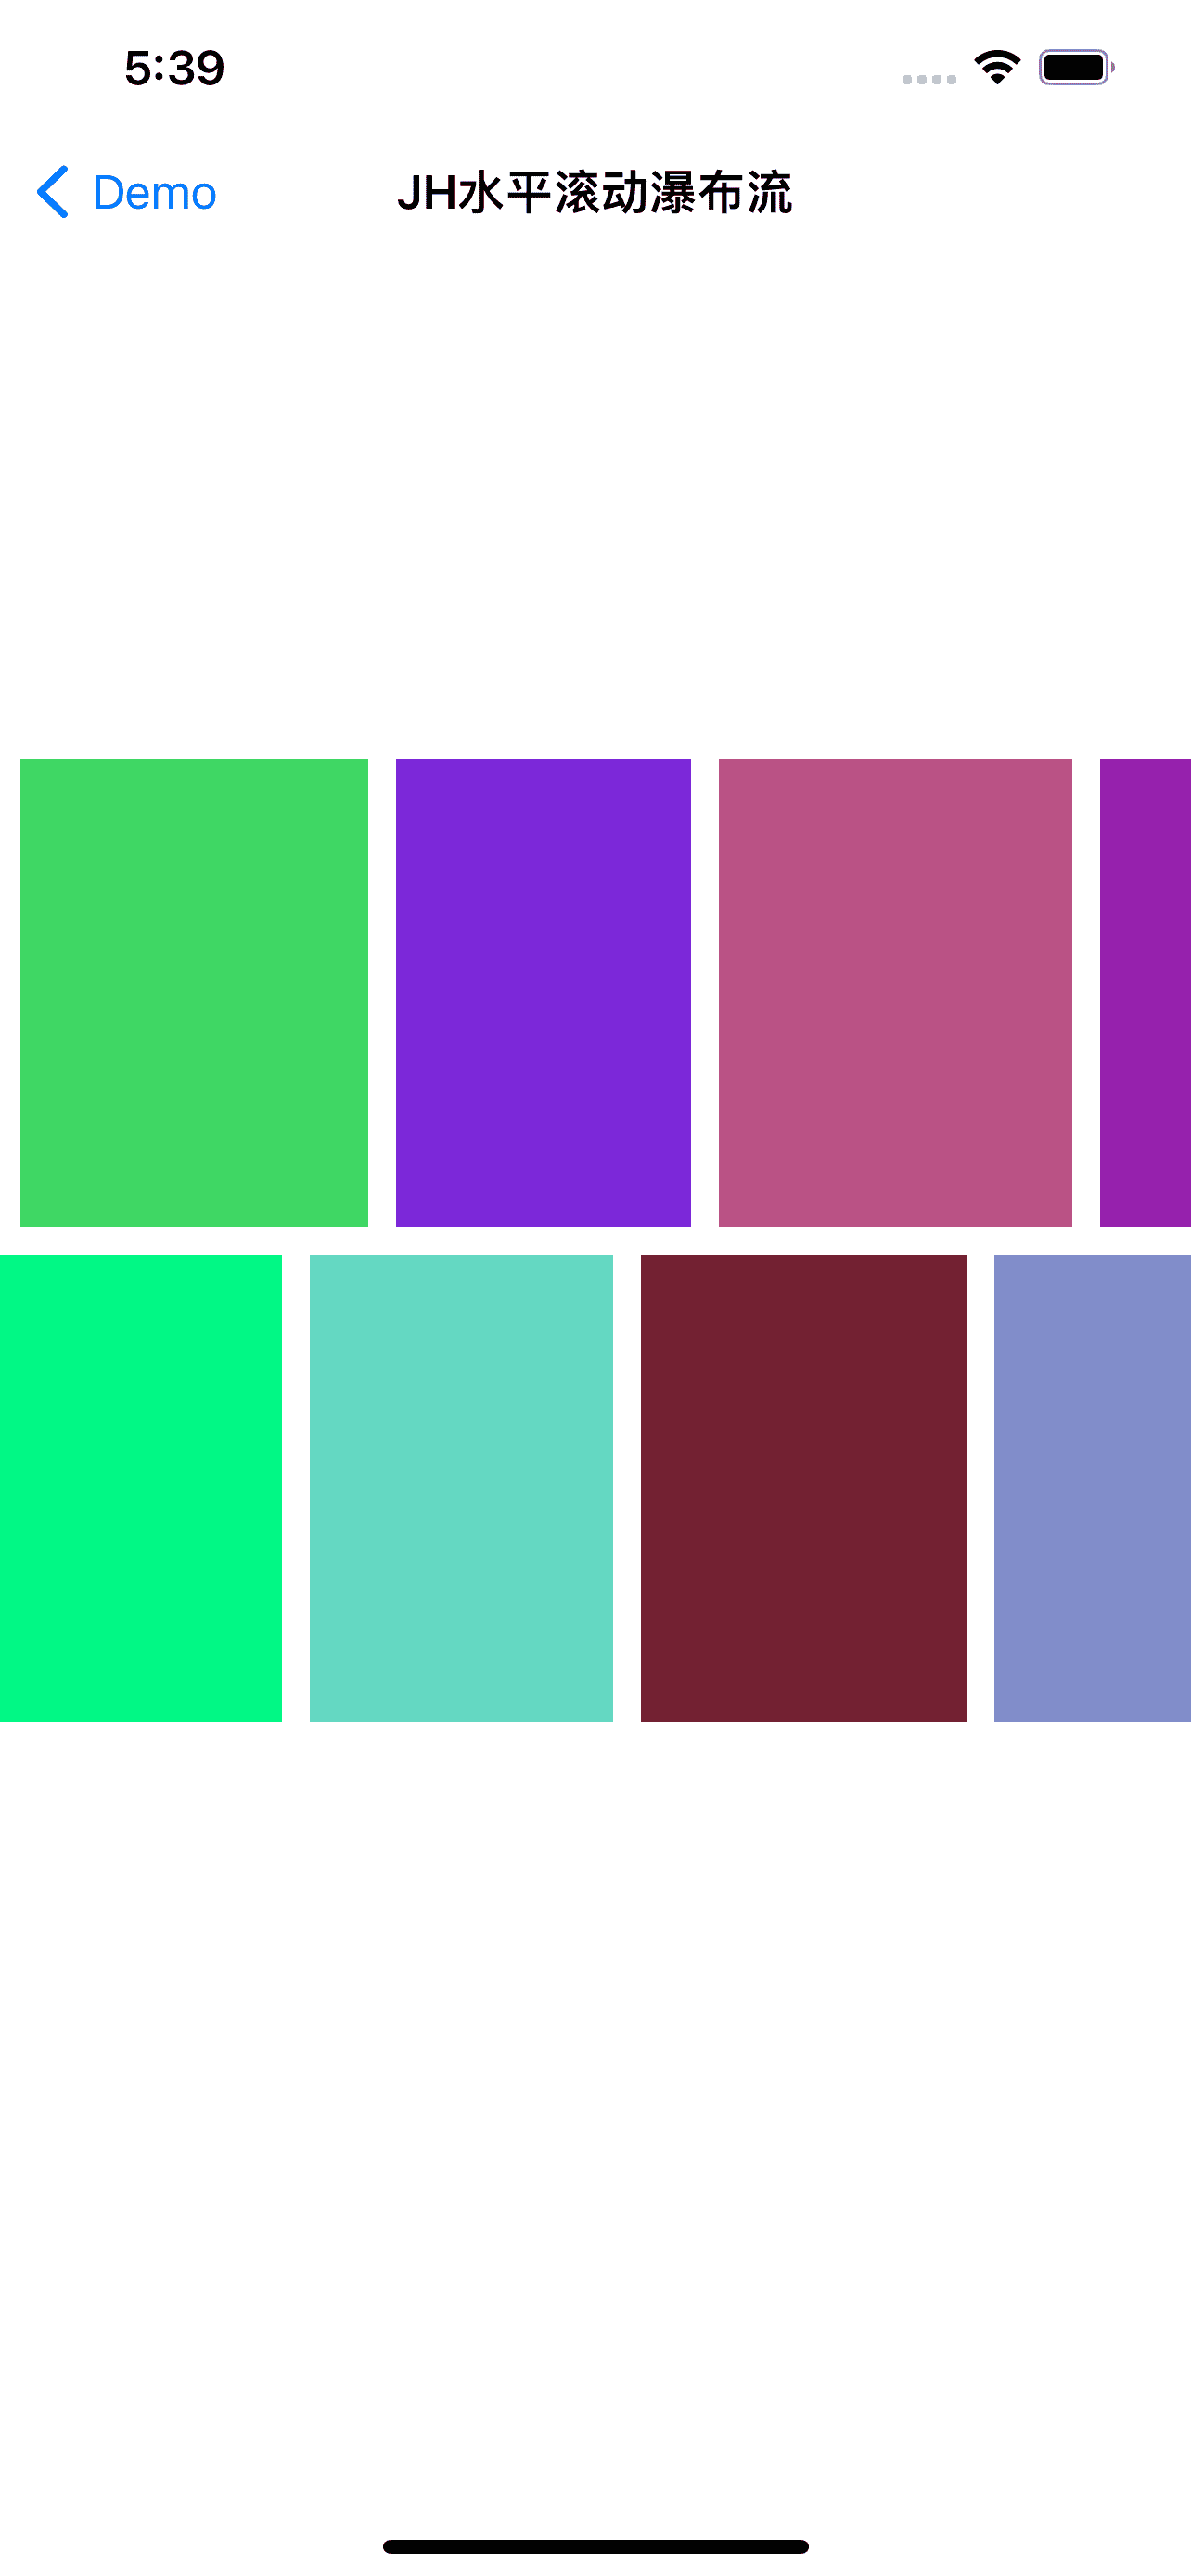
瀑布流作为一种推荐内容的载体如今已广泛应用在各种主流产品中,其内容的呈现形式多是无序的,内容本身多与用户喜好呈正相关,其优点就是可以让用户在无限滚动中”淘宝”。典型的瀑布流多为2列的纵向形态,当然也包括横向展示形式,如appstore的专题推荐。
 |
 |
 |
古早时期有使用多列tableView或者自定义scrollView的方式实现瀑布流布局的,在苹果提供了UICollectionView之后,大家普遍采用定制UICollectionViewLayout的方式实现瀑布流。在UITableView的单列展示形态中,开发者只需要关注每一行的高度即可,布局相对简单单一,对于collectionView来说,其支持多维的布局,除了一般的x、y轴方向外,还包括z轴方向(DecorationView),因此苹果开发了一套layout用来绑定到collectionView上,将每个元素(Item)的布局交由开发者自定义,这也就是我们在创建一个collectionView实例时需要传入一个layout参数的原因。
UICollectionViewFlowLayout
UICollectionViewFlowLayout是UICollectionViewLayout的子类,基于基类提供了更多的滚动支持和self-sizing能力,官方文档对其定义:
A flow layout is a type of collection view layout. Items in the collection view flow from one row or column (depending on the scrolling direction) to the next, with each row containing as many cells as will fit. Cells can be the same sizes or different sizes.
一般来讲,当一个collectionView需要滚动的情况,我们都最好使用UICollectionViewFlowLayout以及它的子类。当然,iOS 13之后苹果也为痛苦的开发者带来了 UICollectionViewCompositionalLayout ,这个layout可谓是『嵌套侠』们的福音,这个我会在以后带来实践分享。
自定义UICollectionViewLayout
那么只用系统默认的UICollectionViewFlowLayout是否可以实现瀑布流呢,答案是可以,只是可能不是你心中的瀑布流样式。
As you can tell,当只有一列数据的时候,collectionView可以说和tableView实现效果一致,当列数增多后,每行数据会默认按x轴对称布局,这并不符合我们的要求,因此我们还是需要自定义layout,但这也就意味着你要放弃super帮你做的好多工作了,这个稍后你就会了解到。
在设计layout时,我们需要定制一些方法来区别于系统接口,或者提供一些定制能力给业务方,因此,我们可以设计一个协议,委托给需要实现的业务方。
1
2
3
4
5
6
7
8
9
10
11
12
13
14
15
16
17
18
19
20
21
@protocol JHListViewDelegateFlowLayout <UICollectionViewDelegateFlowLayout>
@optional
///item size, invalid when estimatedSize isn't empty
- (CGSize)jh_listView:(UICollectionView *)collectionView layout:(JHListViewFlowLayout *)layout itemSizeForIndexPath:(NSIndexPath *)indexPath;
/// 列数 至少为1
- (NSInteger)jh_listView:(UICollectionView *)collectionView layout:(JHListViewFlowLayout *)layout columnsAtSection:(NSInteger)section;
/// 每行的距离
- (CGFloat)jh_listView:(UICollectionView *)collectionView layout:(JHListViewFlowLayout *)layout lineSpacingAtSection:(NSInteger)section;
/// 每列的距离
- (CGFloat)jh_listView:(UICollectionView *)collectionView layout:(JHListViewFlowLayout *)layout itemSpacingAtSection:(NSInteger)section;
/// /// section的内间距
- (UIEdgeInsets)jh_listView:(UICollectionView *)collectionView layout:(JHListViewFlowLayout *)layout insetsAtSection:(NSInteger)section;
/// header size
- (CGSize)jh_listView:(UICollectionView *)collectionView layout:(JHListViewFlowLayout *)layout headerSizeAtSection:(NSInteger)section;
/// footer size
- (CGSize)jh_listView:(UICollectionView *)collectionView layout:(JHListViewFlowLayout *)layout footerSizeAtSection:(NSInteger)section;
/// pin to top
- (BOOL)jh_listView:(UICollectionView *)collectionView layout:(JHListViewFlowLayout *)layout headerPinToTopAtSection:(NSInteger)section;
///decorationView class for section
- (NSString *)jh_listView:(UICollectionView *)collectionView layout:(JHListViewFlowLayout *)layout decorationViewClassAtSection:(NSInteger)section;
@end
Overrides
在自定义layout中,我们主要关注以下方法的覆盖。
1
2
3
4
5
6
7
prepareLayout
layoutAttributesForItemAtIndexPath:
layoutAttributesForSupplementaryViewOfKind:
layoutAttributesForDecorationViewOfKind:
collectionViewContentSize
layoutAttributesForElementsInRect:
shouldInvalidateLayoutForBoundsChange:
prepareLayout
该方法主要负责布局的准备工作,你可以在这个方法中创建每个元素的布局属性(layoutAttributes)。这个方法很神奇,它由系统调用,如果覆盖则一定要调用super,它在collectionView刷新数据时一定会调用,同时当滑动时contentSize发生了变化时系统也会调用,尤其是使用了autolayout之后,你会发现它的调用次数远比纯frame来的多。我在layout中,使用一个二维的数组来保存所有的attributes,当然你也可以使用一个一维的数组,根据实际情况来就好。
1
@property (nonatomic, strong) NSMutableArray <NSMutableArray<__kindof UICollectionViewLayoutAttributes *>*> *groupedAttributes;
由于layout对象可以取到当前的collectionView,因此我们可以得到当前整体的数据结构,从而可以逐个创建每个attributes,并将它们保存到groupedAttributes中。
1
2
3
4
5
6
7
8
9
10
11
12
13
14
15
16
17
18
19
20
21
22
23
24
25
26
27
28
29
30
31
32
33
34
35
36
37
38
39
40
41
42
43
44
45
46
47
- (void)prepareLayout {
    [super prepareLayout];
    NSInteger numberOfSections = [self.collectionView numberOfSections];
    if (numberOfSections <= 0) {
        return;
    }

    [self resetData];

    for (NSInteger section = 0; section < numberOfSections; section ++) {
        NSInteger numberOfItems = [self.collectionView numberOfItemsInSection:section];
        NSIndexPath * sectionIndexPath = [NSIndexPath indexPathForItem:0 inSection:section];

        NSMutableArray *group = [NSMutableArray array];
        [self.groupedAttributes addObject:group];

        //sectionHeader
        UICollectionViewLayoutAttributes * headerAttr = [self layoutAttributesForSupplementaryViewOfKind:UICollectionElementKindSectionHeader atIndexPath:sectionIndexPath];
        if (headerAttr) {
            [group addObject:headerAttr];
            [_headerAttributes addObject:headerAttr];
        }

        //section item
        for (NSInteger row = 0; row < numberOfItems; row ++) {
            NSIndexPath * indexPath = [NSIndexPath indexPathForItem:row inSection:section];
            UICollectionViewLayoutAttributes * itemAttr = [self layoutAttributesForItemAtIndexPath:indexPath];
            if (itemAttr) {
                [group addObject:itemAttr];
            }
        }

        //section footer
        UICollectionViewLayoutAttributes * footerAttr = [self layoutAttributesForSupplementaryViewOfKind:UICollectionElementKindSectionFooter atIndexPath:sectionIndexPath];
        if (footerAttr) {
            [group addObject:footerAttr];
            [_footerAttributes addObject:footerAttr];
        }

        //decoration view
        UICollectionViewLayoutAttributes *decoAttr = [self layoutAttributesForDecorationViewOfKind:@"" atIndexPath:sectionIndexPath];
        if(decoAttr){
            [group addObject:decoAttr];
            [_decorationAttributes addObject:decoAttr];
        }
    }
}
layoutAttributesForItemAtIndexPath
该方法需要根据indexPath返回一个layoutAttributes,这里的item就是我们所说的cell是同一个概念。在瀑布流中纵向滑动时,每列的宽度一般是等分的,比较好计算,我们把重点放在于计算每个item的y和size。
y的计算方式其实很好理解,就是去寻找当前每列中maxY最小的一列即可。这里我们用一个 NSMutableArray<NSMutableDictionary *> *maxEnds 来保存每个section中每列的高度信息。每个section中的第一行的y是什么呢?
答案是: 上一个section中的最大y + 当前sectionHeader的高度
1
y += headerSize.height + insets.top + [self getMinYinSection:section];
这里,我封装了2个方法用来计算每个section中最大的Y和最小的Y,当然他们内部在某些临界场景是会互相调用的。
1
2
- (CGFloat)getMaxYinSection:(NSInteger)section withFooter:(BOOL)withFooter;
- (CGFloat)getMinYinSection:(NSInteger)section;
至此,我们可以去计算所有item的位置了:
1
2
3
4
5
6
7
8
9
10
11
12
13
14
15
16
17
NSMutableDictionary *sectionItemYs = self.maxEnds[section];
CGFloat minY = [[sectionItemYs objectForKey:@(0)] floatValue];
 NSInteger minCol = 0;

for (int col = 0; col < columns; col ++) {
    if(row == 0){ //新section 重置y
        [sectionItemYs setObject:@(y) forKey:@(col)];
        minY = y;
    }else{
        //找到Y最小的一列
        CGFloat colY = [[sectionItemYs objectForKey:@(col)] floatValue];
        if(colY < minY){
            minY = colY;
            minCol = col;
        }
    }
}
layoutAttributesForSupplementaryViewOfKind
SupplementaryView对标的是tableView的sectionHeaderView和sectionFooterView,使用kind区分为UICollectionElementKindSectionHeader和UICollectionElementKindSectionFooter。
sectionHeader的y是上一个section的maxY,sectionFooter的Y是当前section的maxY,只要捋清楚这点,就好办了。
再来说说吸顶效果吧,这个就是我在前面说的继承的副作用,那就是父类的吸顶效果你用不了咯~为啥呢?因为父类只会按照他默认的方式去计算header的位置,已经不再适合你的header位置了,除非你的布局contentSize、每个section的size都恰好和父类计算的结果一样,你才能直接使用super,否则我们就需要自己实现吸顶了,真的坑。
1
2
3
4
5
6
7
8
9
10
11
12
13
14
15
16
17
18
19
20
21
22
23
24
25
26
27
-(CGFloat)getHeaderY:(UICollectionViewLayoutAttributes *)attr{
    if(!attr) return 0;
    NSInteger section = attr.indexPath.section;
    CGFloat y = [self getMaxYinSection:section-1 withFooter:YES];
    CGFloat offsetY = self.collectionView.contentOffset.y;
    CGFloat maxY = [self getMaxYinSection:section withFooter:YES];
    CGFloat headerHeight = [self jhListViewFlowLayoutHeaderSizeAtSection:section].height;
    CGFloat footerHeight = [self jhListViewFlowLayoutFooterSizeAtSection:section].height;
    CGFloat pinMaxY = maxY - headerHeight - footerHeight;//应该减去header footer本身的占位高度
    BOOL isPinToTop = [self jhListViewFlowLayoutHeaderPinToTopAtSection:section];
    if (isPinToTop) {
        if(offsetY <= y){ //应保持在最初的位置
            attr.zIndex = 0;
            //NSLog(@"\n 分支1 section:%ld,offsetY:%.2f,y:%.2f,maxY:%.2f",section,offsetY,y,pinMaxY);
        }else if(offsetY >y && offsetY <= pinMaxY){ //吸顶的位置
            //NSLog(@"\n 分支2 section:%ld,offsetY:%.2f,y:%.2f,maxY:%.2f",section,offsetY,y,pinMaxY);
            y = offsetY;
            attr.zIndex = 1024; //悬浮在最上方
        }
        else{ //移动上去
            //NSLog(@"\n 分支3 section:%ld,offsetY:%.2f,y:%.2f,maxY:%.2f",section,offsetY,y,pinMaxY);
            y = offsetY - (offsetY - pinMaxY);
            attr.zIndex = 0;
        }
    }
    return y;
}
在滑动过程中,系统会时不时的调用layoutAttributesForSupplementaryViewOfKind来获得最新的SupplementaryView位置,因此我们的吸顶也要在这里做文章。这里不多说,自己打断点跑一下就知道咋回事了。但需要注意的是,当视野中有2个sectionHeader的时候,系统可能只会调用一个section,而且是最后面的那个,所以我们必须同时处理上一个sectionHeader的frame才能保证所有header的位置绝对正确。
1
2
3
4
5
6
7
8
9
y = [self getHeaderY:attr];
//需要同时处理上一个header的位置
if(section > 0){
    UICollectionViewLayoutAttributes *lastAttr = [self findSectionAttributes:[NSIndexPath indexPathForRow:0 inSection:section-1] kind:elementKind];
    CGFloat y = [self getHeaderY:lastAttr];
    CGRect frame = lastAttr.frame;
    frame.origin.y = y;
    lastAttr.frame = frame;
}
layoutAttributesForDecorationViewOfKind
DecorationView这玩意儿,十年的老司机都不一定知道,原来collecitonView还有个这。Decoration顾名思义装饰,它是用来给section或cell提供装饰的view。section?咩错,原来你一直都可以给整个section加个背景图,还在一点点修改cell的背景吗?恭喜你收到了来自十年前苹果的微笑 🙂
DecorationView是一个可以位于z轴上的view,也就是说他可以盖在其他视图之上或者之下,attributes对象有一个zIndex属性用来控制一个view在z轴上的层级。DecorationView也是一种UICollectionReusableView,所以它是可以被复用的,但奇葩的是它只由layout进行管理,因此对它的注册是在layout中进行的。在开放协议中,我定义了如下方法可以在外面传入自定义的DecorationView,这样就通用多了。与SupplementaryView不太一样的是这里注册的kind好像必须是类名,随便写个字符串会崩溃。
1
2
3
4
5
6
7
8
9
NSString *className = [self jhListViewFlowLayoutDecorationViewClassAtSection:indexPath.section];
    if(![className isKindOfClass:[NSString class]]) return nil;
    Class cls = NSClassFromString(className);
    if(!cls) return nil;
    UICollectionViewLayoutAttributes *attr = [self findDecorationAttributes:indexPath];
    if(!attr){
        attr = [UICollectionViewLayoutAttributes layoutAttributesForDecorationViewOfKind:className withIndexPath:indexPath];
    }
    [self registerClass:cls forDecorationViewOfKind:className];
collectionViewContentSize
顾名思义该方法要求返回collectionView的ContentSize,通过实践得来的经验,这里最好进行实时计算才会比较准确,尽量少在代码里使用标记变量是个好习惯。详细计算contentWidth,contentHeight比较简单,直接看源码就能懂。
1
2
3
4
//重写get方法,实时计算出结果
- (CGSize)collectionViewContentSize{
    return CGSizeMake(self.contentWidth, self.contentHeight);
}
layoutAttributesForElementsInRect
这个方法的调用时机基本和scrollView滚动触发的代理方法时机一致,调用比较频繁,这个rect应该就是指滚动是当前可视区域。也就是说系统需要知道当前应该把哪些layout绘制出来,这里无脑返回全部的attributes最简单。当然为了性能优化,你可以计算下每个attributes的是不是在当前rect内,把符合要求的attributes放到一个新数组里返回就好,也不难。
shouldInvalidateLayoutForBoundsChange
该方法和 layoutAttributesForElementsInRect 一样也被频发调用,默认return NO,也就是在bounds发生变化时要不要重新布局,return YES的话就会触发 prepareLayout 。一般情况我们不需要return YES,因为实测大多数数据源或者布局变化时,系统都会调用 prepareLayout。但当我们需要吸顶功能时,这里必须是YES了,原因刚才说过了。我也尝试监听了父类布局在设置header吸顶时会不会return YES,答案也是显而易见的。
LayoutAttributes的复用
由于以上的方法系统会不定时调用一下,很多都需要返回attributes实例,这里如果你觉得直接新建一个不是最简单吗那就错了。抛开性能开销不说,你返回的frame也不一定是对的,因为系统并不是每次调用 layoutAttributesForItemAtIndexPath 之前都重新 prepareLayout 了,所以你再按照新建的frame返回给系统肯定不对了,所以你要复用。在上述覆盖的系统方法里,你最好都复用已存在的attributes。
1
2
3
4
5
6
7
8
9
10
- (UICollectionViewLayoutAttributes *)findItemAttributes:(NSIndexPath *)indexPath{
    for (NSMutableArray *group in self.groupedAttributes) {
        for (UICollectionViewLayoutAttributes *attr in group) {
            if(attr.representedElementCategory == UICollectionElementCategoryCell && attr.indexPath.section == indexPath.section && attr.indexPath.row == indexPath.row){
                return attr;
            }
        }
    }
    return nil;
}
瀑布流与AutoLayout
我一直是autoLayout的忠诚拥护者,我认为既然搞封装,你就应该让人家既能通过frame也能通过autoLayout来使用。任何打着追求极致性能的幌子而强迫去使用frame的人,都只是给自己不想改变找的借口罢了。所以我的JHListViewFlowLayout必须支持autoLayout。
也就是说你的cell可以使用Masonry/SnapKit基于约束的布局方案,而不用去挨个计算恶心的高度了。在瀑布流里使用autoLayout并应对各种场景,如增加删除元素,旋转屏幕等,我的实践应该是目前相对比较全面的一个了。
要想实现高度自适应,首先你要给layout设置一个estimatedSize,即预估的size,这里设置成多大都行,除了sizezero,当然肯定和实际大小越接近效果越好。
接着苹果会告诉你在你自定义的cell里重写 preferredLayoutAttributesFittingAttributes 方法,下面是关于这个方法的介绍:
The default implementation of this method returns the same attributes that are in the layoutAttributes parameter. You can override this method in subclasses and use it to return a different set of attributes. If you override this method, call super first to give the system the opportunity to make changes, then modify the returned attributes.
正常情况对于每个cell,系统都会传入一个在layout里面算好的layoutAttributes,你可以在这个方法中重新赋予其理想的frame,并返回。因此,在约束布局中,我们在该方法中调用 [self layoutIfNeeded] 拿到准确的size后即可重新设置frame了。
1
2
3
4
5
6
7
8
-(UICollectionViewLayoutAttributes *)preferredLayoutAttributesFittingAttributes:(UICollectionViewLayoutAttributes *)layoutAttributes{
    [self setNeedsLayout];
    [self layoutIfNeeded];
    CGSize size = [self.contentView systemLayoutSizeFittingSize: layoutAttributes.size];
    CGRect cellFrame = layoutAttributes.frame;
    cellFrame.size.height = ceil(size.height);
    return layoutAttributes;
}
当然难点不在这里,因为你会发现到这里瀑布流并不能正常显示,相反直接崩了…🥲
 这里说我们的collectionView陷入了永无止境的更新布局循环,原因正是刚刚我们改变了已有的layoutAttributes
。因为到现在只有collectionView知道这个事儿了,但我们的layout还蒙着呢! 我发现当所有cell经历完 preferredLayoutAttributesFittingAttributes 之后,系统还会再调用1到2次的 prepareLayout ,如果我们不更新这里对应的attributes,那肯定不行,前后出现不一致,collectionView自然会认为它一直需要更新,所以就无限循环下去最终崩溃。所以我采用的方式是在layout中持有一个对象用来记录更新的attributes,key是indexPath,value是真实size,并在需要更新真实size的地方全部重新设置一遍,这样就ok了。
这里说我们的collectionView陷入了永无止境的更新布局循环,原因正是刚刚我们改变了已有的layoutAttributes
。因为到现在只有collectionView知道这个事儿了,但我们的layout还蒙着呢! 我发现当所有cell经历完 preferredLayoutAttributesFittingAttributes 之后,系统还会再调用1到2次的 prepareLayout ,如果我们不更新这里对应的attributes,那肯定不行,前后出现不一致,collectionView自然会认为它一直需要更新,所以就无限循环下去最终崩溃。所以我采用的方式是在layout中持有一个对象用来记录更新的attributes,key是indexPath,value是真实size,并在需要更新真实size的地方全部重新设置一遍,这样就ok了。
1
2
3
4
5
6
7
8
9
10
11
12
13
-(void)setActualSize:(UICollectionViewLayoutAttributes *)attributes isInit:(BOOL)isInit{
    NSValue *value = [self.actualItemSizes objectForKey:attributes.indexPath];
    CGRect originFrame = attributes.frame;
    CGSize actualSize = [value CGSizeValue];
    CGFloat actualHeight = actualSize.height;
    if (actualHeight == originFrame.size.height) {
        return;
    }
    CGRect frame = attributes.frame;
    frame.size.height = actualHeight;
    attributes.frame = frame;
    ...
}
瀑布流元素的增加和删除
如果你定制的layout不能很好的适应增加和删除操作,那一定是写的还有问题。
搞过tableView增删的应该都知道了,3步走:
- 增加/删除数据源
- 调用tableView对应的更新方法
- reload
其实collectionView大同小异,你可以生硬的编写上述代码,或者像下面这样:
1
2
3
4
5
6
7
[self.listView performBatchUpdates:^{
    [self.listView insertItemsAtIndexPaths:@[indexPath]];
} completion:^(BOOL finished) {
    //防止不调用cellforitem 导致indexpath错误
    [self reloadData];
    self.listView.contentOffset = offset;
}];
最后这个reload有意义么?有,不信你可以试试,至少reload一下section是十分必要的。
删除稍微特殊一点,当判断到section的最后一个元素时,你需要删除整个section才行。
1
2
3
NSMutableIndexSet *set = [NSMutableIndexSet indexSet];
[set addIndex:indexPath.section];
[self.listView deleteSections:set];
使用UICollectionView代替UITableView
UICollectionView通过自定义布局可以实现很多复杂的布局形态而不限于瀑布流,因此它完全可以替代tableView,通过良好的封装,你大可以在所有页面都使用collectionView作为底层视图。这样一来,你的页面如果需要接入瀑布流是不是就不用再蛋疼的搞嵌套了~
Demo
 |
 |
 |